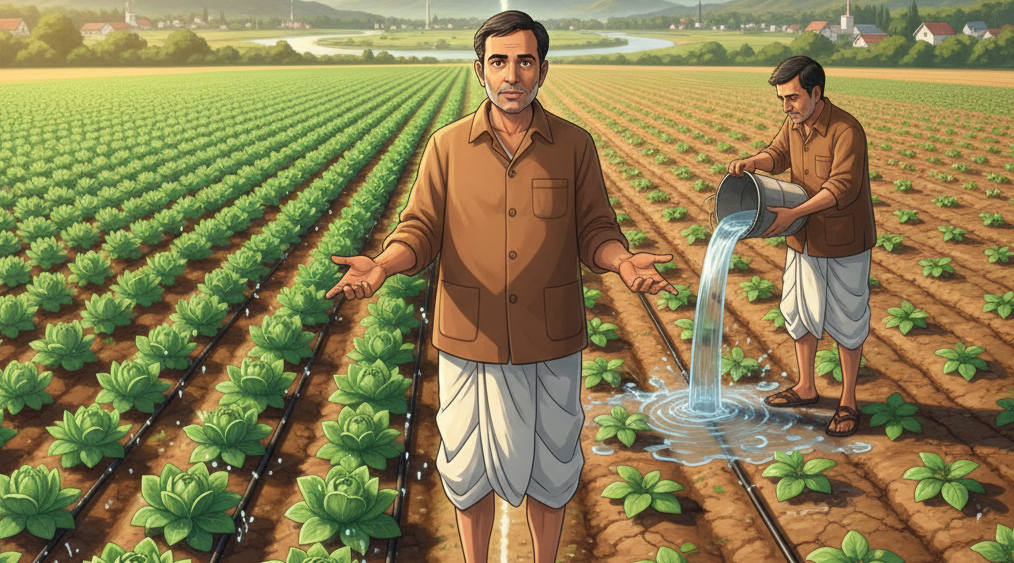
What if I told you that you could double your crop yield while using exactly half the amount of water you currently pump? It sounds like a miracle, but for thousands of farmers worldwide, it is a daily reality. In traditional farming, particularly flood or furrow irrigation, up to 60% of water never reaches the plant’s roots—it simply evaporates or seeps into unused soil. The “Challenge” is that as global water tables plummet and energy costs for pumping skyrocket, the old ways of “soaking the field” are becoming a recipe for financial ruin. This is the “Pain Point”: traditional methods are labor-intensive, water-heavy, and often lead to uneven crop growth.
The ultimate solution to this crisis is the adoption of Drip Irrigation. By delivering water directly to the base of each plant through a network of valves, pipes, and emitters, this system transforms water from a wasted commodity into a precision-managed asset. This article serves as a definitive guide comparing Drip Irrigation to Traditional Farming. You will learn the core technical differences, a detailed breakdown of costs versus long-term benefits, and a step-by-step implementation plan to modernize your agricultural operations for maximum efficiency.
Understanding Drip Irrigation: Key Concepts and Importance
To understand the shift, we must first define the contenders. Traditional Farming usually relies on “Surface Irrigation,” where water is guided down trenches (furrows) or flooded across a flat field. This method has been used for millennia, but it assumes water is an infinite resource. Drip Irrigation, often called “Micro-Irrigation,” is a modern innovation that uses low-pressure pipes to release water drop-by-drop.
Think of the difference like an Open Fire vs. a Gas Stove. Traditional flood irrigation is like an open campfire; it provides heat, but much of the energy escapes into the air, and you can’t easily control the intensity. Drip irrigation is like a modern gas stove—you have a precise dial for every burner, allowing you to deliver the exact amount of energy exactly where the pan sits.
The modern relevance of this technology is tied to Precision Agriculture. By controlling the flow, you aren’t just managing water; you are managing the “Micro-climate” of the root zone. Technical parts like Emitters and Pressure Compensators ensure that even on a sloped field, the plant at the top of the hill gets the same amount of moisture as the one at the bottom. This consistency is something traditional farming simply cannot achieve.
Why It Matters: The Top Benefits of Drip Irrigation
The shift to drip systems provides a massive competitive edge. Here is why the transition is vital for the modern farmer:
- Unmatched Water Efficiency: Drip systems operate at 90-95% efficiency, compared to the 40-60% efficiency of traditional methods. This means you can farm twice the land with the same water license.
- Fertigation Capabilities: You can mix liquid fertilizers directly into the water stream (Fertigation). This delivers nutrients straight to the roots, reducing fertilizer waste by up to 30% and preventing weed growth between rows.
- Reduced Labor and Energy: Traditional flooding requires constant manual monitoring and heavy labor to manage furrows. Drip systems can be automated with timers, and because they operate at lower pressures, they often require less electricity to run the pumps.
- Soil Health and Erosion Control: Traditional flooding often leads to soil compaction and topsoil erosion. Drip irrigation maintains a perfect air-to-water ratio in the soil, preventing the “crusting” effect and keeping your topsoil exactly where it belongs.
Pro Fact: On average, farmers who switch from traditional furrow irrigation to drip systems see a 20% to 50% increase in yield because plants are never stressed by extreme “wet-dry” cycles.
How to Get Started: A Practical Guide for Beginners
Moving from a traditional setup to a drip system can seem daunting, but it is a manageable 5-step process:
Step 1: Map Your Field and Water Source
Calculate the total area and the “Flow Rate” of your current pump. Drip systems require clean water, so identify where you will place your Filtration Unit to prevent sand or algae from clogging the emitters.
Step 2: Choose Your “Lateral” Type
Decide between “Drip Tape” (usually for seasonal crops like vegetables) or “Drip Tubing” (for permanent crops like orchards). Space your emitters based on the distance between your plants.
Step 3: Install the Headworks
This is the “brain” of your system. Install a Backflow Preventer (to protect your well), a Pressure Regulator (to prevent pipes from bursting), and your fertilizer injector.
Step 4: Lay the Mainlines and Sub-mainlines
Run the larger pipes along the edge of your field. Attach the smaller lateral lines to these pipes using simple “take-off” connectors. Ensure the lines are straight and pinned down to avoid movement during wind.
Step 5: Pressure Test and Flush the System
Before planting, turn the system on and “flush” the ends of the lines to clear any construction debris. Check for leaks and ensure every emitter is “weeping” at the same rate.
Beginner’s Tip: Always buy a filter that is one size larger than your calculated need. Water quality often changes during the peak of summer, and a larger filter will save you hours of cleaning time during the harvest season.
Overcoming Challenges and Looking into the Future
The biggest hurdle for most is the Initial Capital Expenditure. A drip system costs more upfront than a shovel and a furrow. However, many farmers solve this by utilizing government subsidies (like the PMKSY in India or NRCS grants in the US) or by starting with a “Master Kit” for a small section of land. Another challenge is Rodent Damage, where pests chew on the soft plastic. Using sub-surface drip (burying the lines 2-4 inches deep) or using deterrents can mitigate this.
Looking ahead, the future is Solar-Powered Automated Drip. We are seeing systems that use moisture sensors to “talk” to the pump via Wi-Fi, turning the water on only when the soil reaches a specific tension. The integration of AI-driven satellite data will soon allow these systems to adjust flow rates based on predicted heatwaves, making farming almost entirely autonomous and highly resilient to climate change.
Conclusion
The debate between Drip Irrigation and Traditional Farming is no longer just about “preference”—it is about survival in a water-scarce world. While traditional methods served us for centuries, they are too wasteful for the economic demands of 2026. By investing in drip technology, you save water, reduce chemicals, and significantly increase your profit margins.
Call to Action: Don’t wait for a drought to change your ways. Measure the water output of your current traditional system this week, and compare it to the requirements of a basic drip kit.
The transition to a more profitable, sustainable, and modern farm begins with the very first drop you choose to save.
Frequently Asked Questions (FAQs)
1. Is drip irrigation expensive to maintain? While the initial cost is higher, the maintenance is low if you have a good filter. Most maintenance involves checking for leaks and flushing the lines once a month. The savings on water and labor usually far outweigh the maintenance costs.
2. Can I use drip irrigation for field crops like wheat or corn? Yes. While it was originally for vegetables and orchards, “Sub-surface Drip Irrigation” (SDI) is now being used successfully for large-scale corn and cotton farming with massive yield increases.
3. Will my emitters get clogged with hard water? Hard water (calcium/magnesium) can cause scaling. This is easily solved by occasionally flushing the system with a very mild, diluted acid solution or using specialized “anti-clog” emitters.
4. How long does a drip system last? High-quality drip tubing (used for orchards) can last 10 to 15 years if maintained properly. Drip tape (used for seasonal vegetables) is thinner and usually lasts 1 to 3 seasons depending on the thickness.